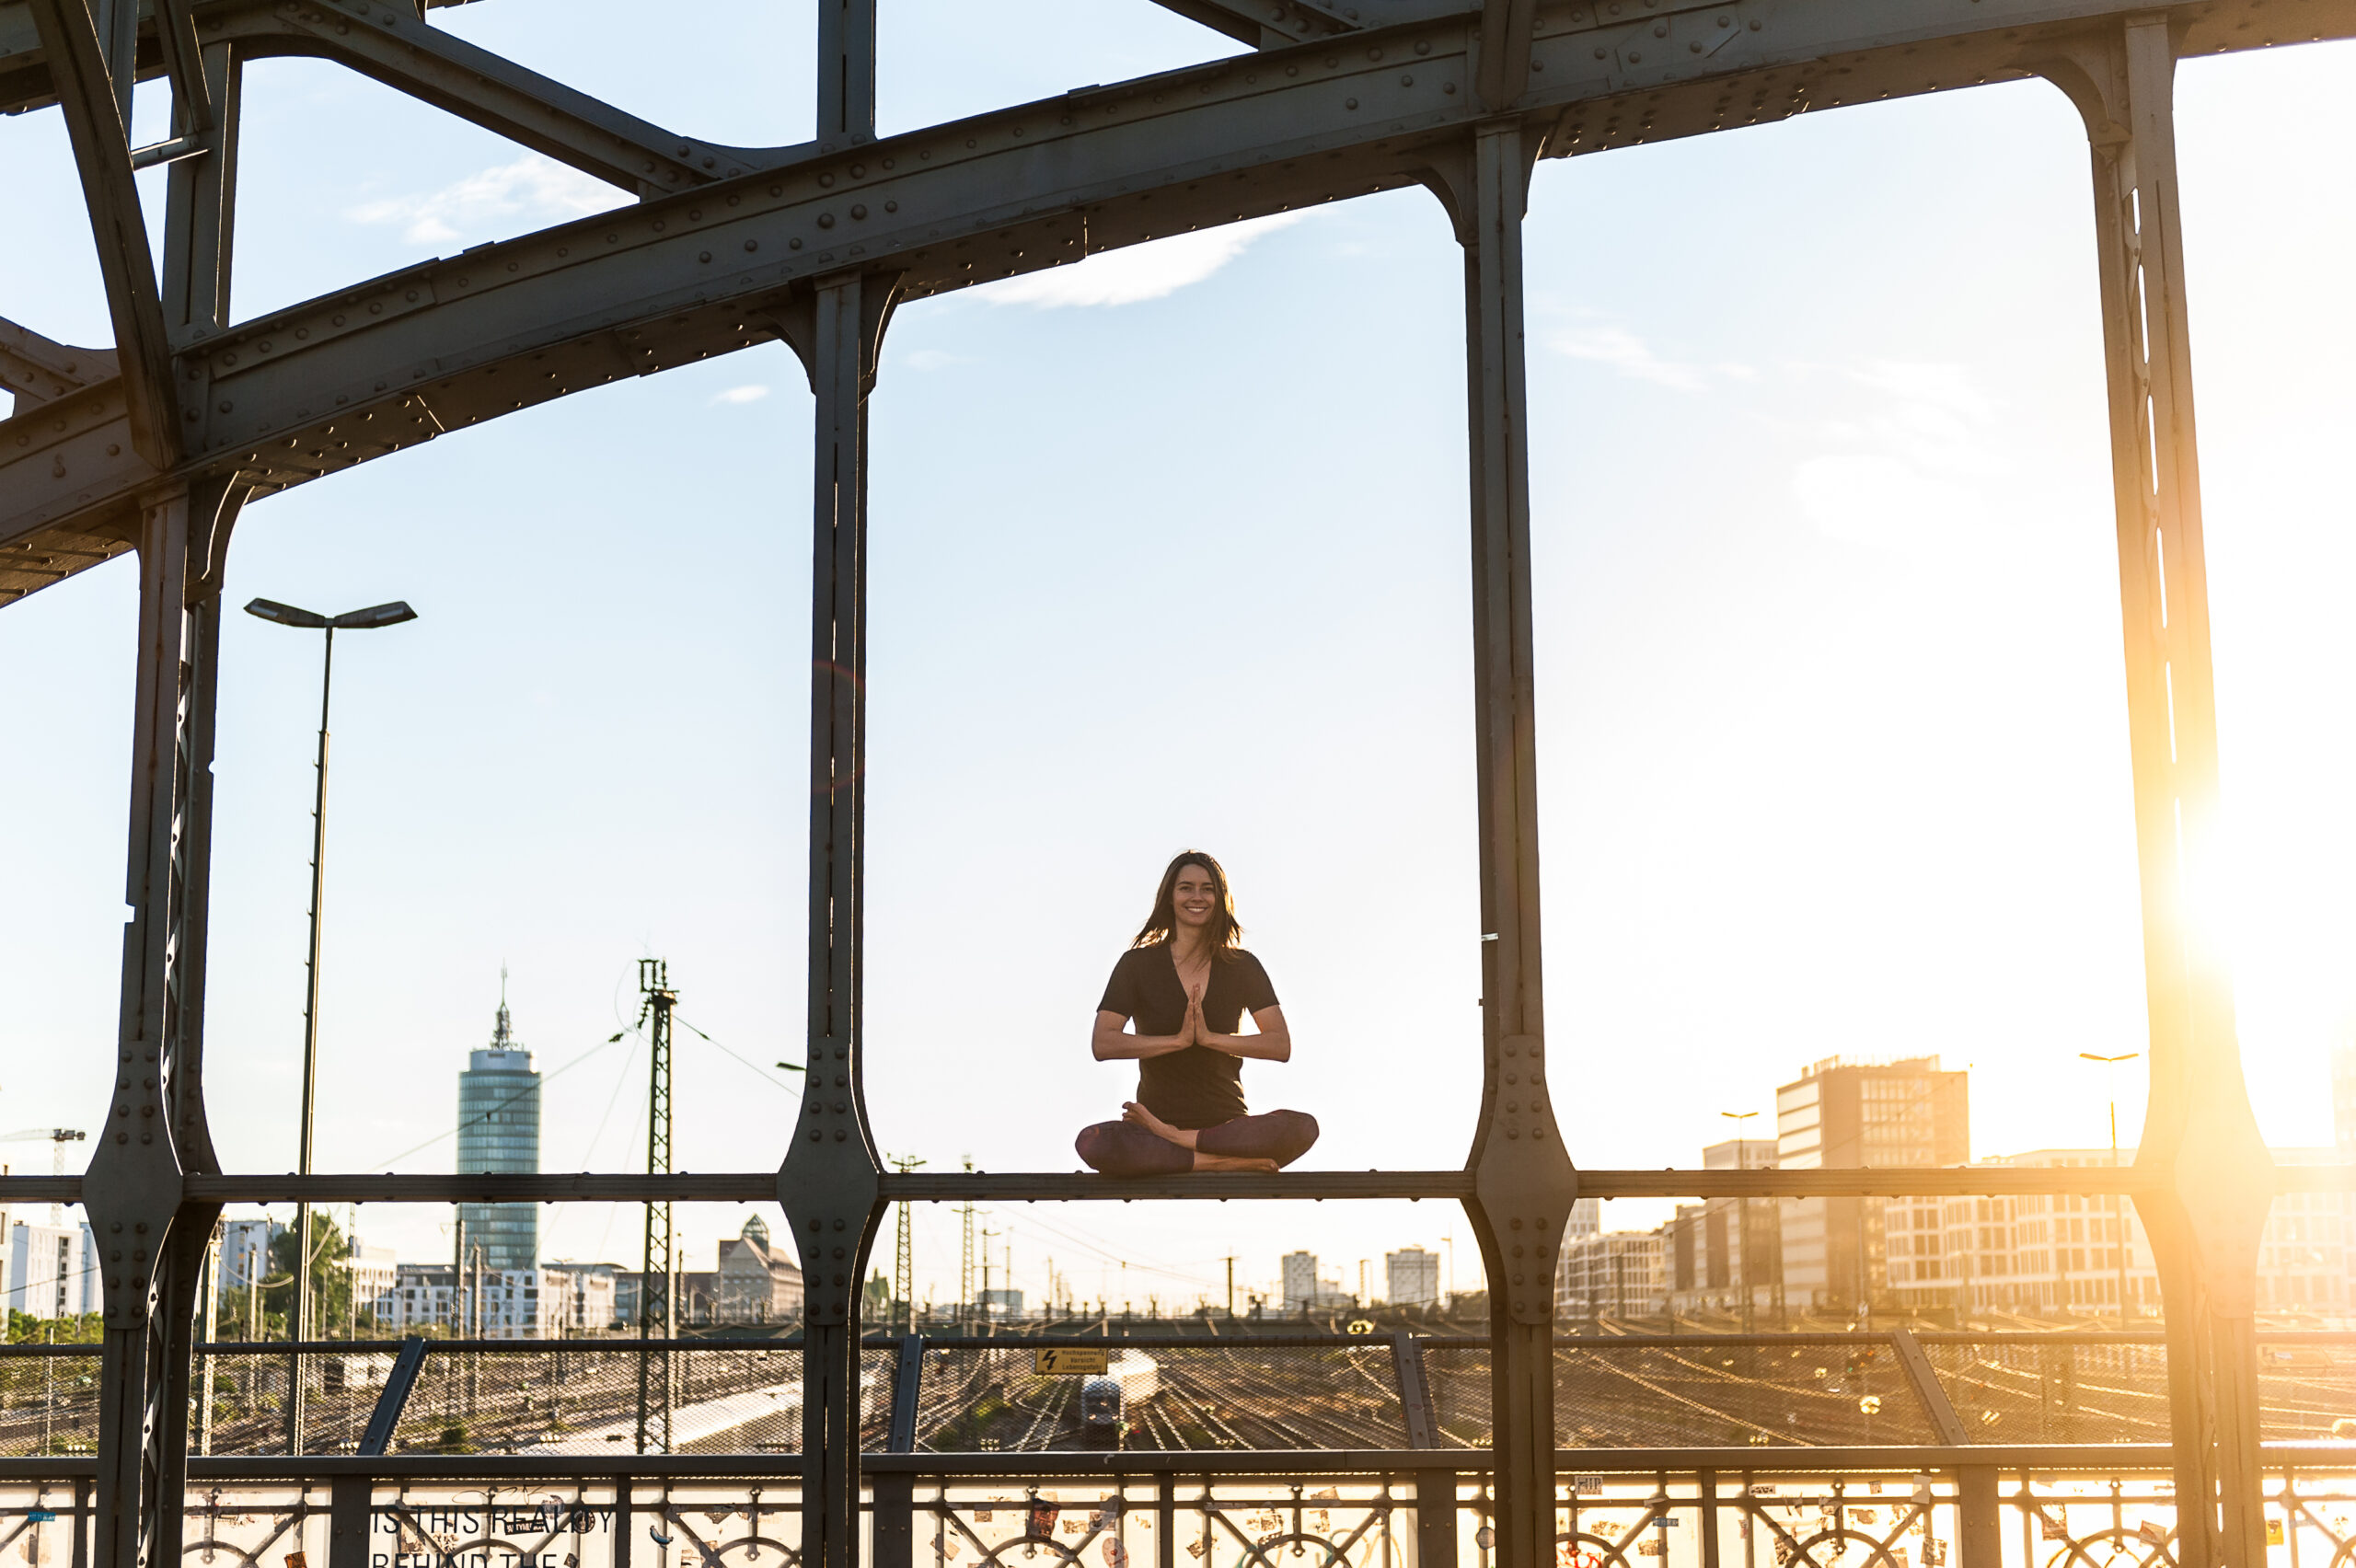
Many yoga studios offer in-person and online course options to be more accommodating to their customers. Lots of yogis love the comfort that at-home yoga practices bring as they can use their own props and go at their own pace. ,By creating and instructing a yoga class online, you can offer more flexibility for your students while also opening your doors to students in further away locations – which can be great for growing your own brand as a yoga teacher!
In this article, we’ll help you discover the best tips and tricks for teaching yoga online, which includes creating the online content and gaining some traction through marketing! We’ll also walk through common pitfalls, and go over strategies that others have used to successfully digitize their studios.
We’ll also dive into a few success stories on creators like Cinderella De Groot and Lizzie Lasater who both leveraged Thinkific to build super-powerful online yoga courses to connect with their students.
“I can’t wait to see what happens with this explosion of digital learning. I think we’re all going to up-level our game and I think there’s going to be a kind of collective consciousness that we’re going to learn how to practice and teach better online.” – LIZZIE LASATER

Skip ahead:
Can you make money as an online yoga instructor?
Qualifications and preparation for instructing online yoga classes
What’s the next step to teaching yoga online?
Why teach yoga online?
There are many benefits to teaching yoga online, compared to in-person. Let’s dive into a few of the major benefits below!
Improve the accessibility for your students
Many studios leverage both in-person and virtual classes at the same time to maximize accessibility for students. By going online, you’re not constrained by your location or physical space, so you’re able to welcome students from almost anywhere in the world. If you host an asynchronous yoga class, you also allow students to participate in your course at any time of day too! This level of flexibility can make students feel more welcomed and be able to ease into their practice at their own pace.
Limitless monetization potential
Online courses allow you to teach more people, and your earning potential is virtually uncapped.
Traditional yoga studios are limited to reaching a fraction of the overall yoga market, since they can only serve people living in their local area and they can usually only fill a studio with 20 or 60 students at a time. Teaching online, you’re not limited by how many students you have in a class or where they live – you can serve a global market.
To put this in perspective, the yoga market in the U.S. alone is worth about $12.8B across an estimated 37 million people who practice yoga. Imagine the impact you could have on your business by creating an online yoga course that is accessible globally!
Saves on overhead costs
With online courses, you don’t need to share your earnings with the studio or rental space for your class. You can teach yoga from your home, a park, or anywhere that offers great lighting, a quiet background, and is affordable for you. We’ll dive more into what to look for in a great studio later – but you can jump to it here!
You’ll also save on overhead costs: things like your commute to work, bulk purchases of cleaning supplies to sanitize props after each class, and large orders of yoga props like blocks, straps, towels, or mats for your classes. Instead, you’ll be able to save or re-invest this money into other areas of your business like marketing (or just use it for a relaxing retreat away!)
Teach from anywhere
The beauty of digital products is that they can be consumed anywhere at any time. All you need is Wi-Fi and a digital device!
If you’re complementing live classes with pre-recorded classes on Thinkific, you can teach yoga in your sleep (literally). Running asynchronous classes allows your students to login and access your instructional content anytime they like!
Teaching yoga online will give you the freedom to lead a class from any remote location which means you can travel to more bucket-list locations, or in Lizzie’s case, travel less.
“I travel a lot less now because I can stay in one place and teach online. Which is something I feel good about in a kind of an environmental sense. The past couple of years before I had the twins and as I was growing my online work, I was traveling a lot. Digital has the potential for us to reach people without everybody burning fossil fuels.” – LIZZIE LASATER
Can you make money as an online yoga instructor?
Absolutely, yoga instructors can definitely monetize their content! The average salary for an online yoga instructor in the U.S. is $63,0000 per year, or top earners can earn up to $121,000 a year. Income from online yoga instruction varies a lot depending on any partnerships with studios, the frequency of classes, and the distribution of classes. The more people watching online, the higher your income!
Here are a few common ways yoga instructors are charging for online classes on Thinkific:
- Self-serve classes – pre-recorded yoga lessons that students can take at their own pace.
- Live online classes – just like you’re used to, except you’re teaching in front of a camera instead of an audience.
- Yoga memberships – students pay a monthly subscription fee in exchange for new content or mentorship from you every month.
- Bundles – offering a bundle discount is a great way to encourage students to purchase multiple classes from you.
(Check out TCommerce for built-in selling tools to help you make more $$.)

We suggest offering a range of options and experimenting with your course pricing to find a price point that works. Each monetization strategy also comes with its own set-up and maintenance challenges and benefits so it’s good to do some research. For example, offering bundles makes your online courses appear as if they’re sold at a lower discount – and discounts are something that 93% of customers look for before making a purchase!
Qualifications and preparation for instructing online yoga classes
Not sure what it takes to get started teaching yoga online? If you’ve been leading in-person classes already, it’s likely you already qualified. Here’s what you’ll need before you get started:
Prior yoga training experience
To adequately build up your reputation in the online yoga space, you will need to complete a 200 or 500-hour training to successfully become a Registered Yoga Teacher (RYT). However, if you aren’t a RYT, you can still teach variations of yoga-based sequences, movements, and workouts online – just be sure you are honest with your students about your qualifications! You can also gain extensive knowledge from doing research on your own with yoga books like the Wisdom of Yoga or Light on Yoga. At minimum, you should have some practice leading yoga classes. If you have a speciality, such as yin yoga or yoga nidra, that’s even better!
Being quick at learning new technologies
Of course, as you’re going to be teaching online, you’ll need to be comfortable with new technologies. Luckily, a lot of online learning softwares like Thinkific come with a full library of examples and onboarding guides to help get you started.
Being supportive towards students
Remember, just as you’re transitioning to online yoga classes, your students are too. Having empathy and understanding for the challenges that they might face. Allow for feedback and reviews to ensure that you are offering the right support for your students.
How to create and launch an online yoga class
There are five key areas this article will cover to get you started teaching yoga online:
Step 1: Create a set of yoga sequences and classes
Step 2: Decide your course format and teaching method
Step 3: Set up your virtual yoga studio
Step 4: Help your students transition to online yoga classes
Step 5: Market your online course to new yogis
Step 1: Create a set of yoga sequences and classes
The first thing you’ll want to do is to have some fantastic yoga sequences ready to go! Depending on the style of yoga that you already teach or that you’ve studied, this will guide the layout of the different classes and sequences you want to offer. Having planned out sequences and styles will help you create high quality and focused content.
The style of your yoga class will determine the flow for your students, and let them know what type of class they are signing up for. For example, is this a heat-building power class? Or a posture-focused hatha class? Or maybe a meditative yin or restorative class? Think about if you want to offer different levels of classes, such as yoga for beginners or if you want to cater to more intermediate/advanced students.
Developing many kinds of thoughtful and detail-oriented yoga sequences and classes will allow you to reach a wide range of students at multiple levels, expanding your online business.
Pro tip: Include variations for each asana, or pose, to create an all-levels class that anyone can join!
Asha Yoga, who uses Thinkific to teach Kids Yoga, is a great example of the benefits of creating classes that are developed for a specific audience.
Here are a few things to consider when creating a yoga class or sequence:
- What does your ideal student look like?
- What level of skill do you want to teach online?
- What information will your learners already know?
- What intentions or benefits do your students expect from your practice?
- What areas of expertise and skills set you apart from other yoga teachers?
If you are already teaching, make sure to ask your students what they enjoy most about your teaching style, or what challenges you’ve helped them overcome. Consider how that translates from teaching in-person to online.
If you’re new to teaching yoga, do a quick search on Google or Quora for terms like ‘yoga classes online.’ You’re bound to see a ton of examples and questions on what people want to learn. Make a note of what online yoga schools are already out there and what they teach, what people are searching, and where you could fill in a gap. You can also use tools like Ubersuggest to research what search terms are most popular on Google.
Step 2: Decide your course format and teaching method
Yoga teachers have several options when it comes to choosing a format for online classes. You may want to be more hands-off, with online classes that your students can take asynchronously at their own pace. Or maybe you and your students enjoy the opportunity to engage in a live session at a scheduled time each week.
Option 1: Self-serve yoga classes
This approach allows students to work through a series of pre-recorded classes or modules that they can view on-demand. The benefit of self-directed classes is that they can be a passive income source, so once you’ve recorded your sequence, people can enroll and take the class with no intervention from you.
The challenge with self-serve yoga classes is that some of your students may miss the live interaction, ability to ask questions before or after practice, and receive tips on modifications, practicing with injuries, and how to safely get into advanced poses in the moment.
Pro tip: Lizzie Lasater pairs self-serve yoga classes with online office hours for students to contact her anytime they want one-on-one support!

Option 2: A combination of self-directed and live classes
Many online yoga instructors have a combination that includes live and self-directed content.
Lizzie Lasater loves doing live courses because of the interaction and Q&A she can have with her students while they are learning. All of her courses are designed to be self-paced, but include a live component where she encourages people with special pricing incentives and discounts to enroll in other live classes that she offers.
With Thinkific, Live Lessons allow for you to schedule and host live interactive video lessons directly within Thinkific using Zoom. This gives you the option to connect with your classes remotely at any time!
“With Thinkific’s new Live Lesson feature, it makes it easier than ever to connect with your audience and deliver live training or coaching. Best of all, since your audience does not have to leave the member area, they will be more engaged and highly focused on you.” – ROB GALVIN, THINKIFIC EXPERT
Option 3: Online yoga membership site
The all-encompassing option is to offer a yoga membership. With a membership model, students pay a monthly subscription fee in exchange for new content, mentorship, or live sessions from you every month.
Membership sites differ from standalone courses and live classes in a few key ways. For example, here are a few elements that make up a typical membership site:
- Recurring revenue – Instead of a one-off purchase, customers pay you monthly for access to resources and on-going live classes. You’ll be able to predict your income easier!
- Ongoing training – Students expect you to release new content on an ongoing basis or to be available for answering questions on the fly.
- Community building – Membership site students typically expect access to you, the instructors, and to each other. Access to a community of like-minded people allows connection, brainstorming, support, and mentorship opportunities.
- Emphasis on retention – The membership model relies on retention. By maximizing retention rates, you increase the lifetime value of your customers – ideally to a greater value than the one-time purchase price of an online course.
For example, Lasater Yoga sells a monthly yoga teacher membership call on Thinkific for $20/month. The course is designed to equip yoga instructors with the knowledge to improve their teaching methods, featuring yoga experts and instructors from around the world.
Step 3: Set up your virtual yoga studio
Next, you’ll need to get the right space, props, and software to teach yoga online.
Create a comfortable yoga instruction studio
You’ll need to find a space to record before you can start creating your course. You can get creative with how you find your instruction studio, such as renting on AirBnb, using a room in your home, or trying an outdoor setting like a park!
Thinkific course creator Cinderella De Groot traded a Latin Dance Class for recording space with the owner of a local studio that she attended as a student.
“I filmed at Carlsbad Village Yoga Co-op in Carlsbad, San Diego. I actually have been taking some classes as a student at that yoga studio and reached out to the owner if I could use it to record my online toolkits (course). She said yes, so I was stoked.” – CINDERELLA DE GROOT (BODY2MOVE) RECORDING AT CARLSBAD VILLAGE YOGA CO-OP
Adjust your studio lighting for video optimization
Lighting is super important to make sure that you students can see you well. You might need to play around with camera settings, object positioning, and lighting techniques to make sure you’re visible. Make sure not to have the brightness too high or too dark, as both can cause students to struggle to see small changes in poses. Also consider how shadows will change visibility on certain poses.
Here are a few lighting options to consider:
- Natural – Shoot near a window for natural, overall light. Make sure the window isn’t behind you, or your background will be overexposed (making you look like a huge shadow). If you can position your set up so the natural light is facing towards you for the most optimal position. If you have no choice but to have the window behind you, a good tip is to drape the window source with an opaque white curtain to soften/diffuse the light coming in.
- Softbox – Use a cheap softbox light that lights a large area with softer light. Make sure you position your lights far enough away to have the light fall softer and on a larger area. This method works if your space is big enough. If it’s too close, everything will look harsh and overexposed. If you can, make sure you buy LED bulbs for these softboxes, as LED lights won’t overheat to melt the softbox.
- DIY lighting softbox (using a wall) – If your space is small and you have no choice but to use a softbox, one tip is to point the light at a white wall (not at yourself) so the light can bounce back from the wall, onto you. This works to create a softer, wider source of light. It works better when using lighter walls.
Get the right technology
A video camera and a microphone are necessities for recording an online class.
When it comes to cameras, look for ones that have:
- At least 4K resolution
- DSLR + additional lenses (wide lens of 24 mm or lower for wider angle)
- Enough memory storage for your video footage (64GB+ recommended)
- A mount, such as a tripod, to hold up your camera
“I use my computer mostly, up on a couple of yoga blocks. Sometimes I use my iPad. I like to use my computer and the iPad because they’re connected to the internet, and you can immediately transfer that information online. I wouldn’t suggest using a phone because of the long skinny format.” – LIZZIE LASATER
For microphones, quality is key! Lizzie recommends the Blue Snowball Microphone, but there are a few other options to consider, like:
- Shotgun Mic – You can use a Shotgun mic ($53.95) if you’re in one position and not moving around much. For more direct recording, keep the mic pointed at the source of the sound.
- Snowball Mic – You can use a Snowball Microphone ($49.95) for a wider area of focus, or even multiple people speaking (like a podcast). This is also a good mic if you plan on doing voiceovers layered over your footage that you record later on.
- Lav Mic – If you have the budget, we recommend a Lav Mic Set-up ($239). This gives you the freedom to move around as you teach without losing audio quality.
“People will forgive poor quality video in homemade things, but they will not forgive poor quality audio.” – LISSIE LASATER
Rehearse your content and test your set-up
Lizzie Lasater offered some solid video content production tips she used for her YouTube channel.
| Do’sMap out your content and rehearse
Invest in a microphone Have good lighting Be yourself, don’t fake it |
Don’t’sDon’t forget to rehearse
Don’t record vertically on a cellphone Don’t sacrifice sound quality |
You’ll want to rehearse much more than when you teach live. Make sure you can be fully seen in the video frame and heard clearly through audio streaming before you record.
“I suggest you map out what you’re going to do in your class that you’re teaching online. Quickly before you start, double-check that your camera doesn’t cut you off when you stand up, or raise your arms.” – LIZZIE LASASTER
Record your yoga videos
Macbook laptops have a way to record a video straight onto your computer, but Lizzie likes to use Zoom to record. This allows her to store video in the cloud which saves space on her laptop drive. It also enables her to seamlessly upload content to her course hosting platform later!
The advantage of using a computer or a tablet to record is that the device is connected to the Internet, so you can access and upload your content immediately. Lizze also recommends doing it in one take, to avoid investing time and money to edit. But if you do need to make some small adjustments, you can try an AI video editing tool to save time!
Find a platform to host your course
Many online yoga instructors use Thinkific to build their own virtual yoga studio, here are a few reasons why they love using Thinkific:
- Deliver your lessons on autopilot. Once your classes are loaded into your course site, your students get access to them in the order you’ve arranged. So whether you’re offering a foundational series for beginners, or a sequence of lessons to help your students build advanced techniques, your students can access them anytime.
- Easily upload and update any materials. Want to re-record a video, audio sample, or update a yoga routine? You can drag and drop your materials around each course, to keep your lessons organized without disrupting the learning experience for your students.
- Full control and customization. Unlike marketplaces where you have no control over your course pricing or branding, you can fully customize these on Thinkific. And you’ll always have full access to any student information like emails or lesson progress.
- Simplified payments and communication. Any revenue you earn goes directly to you as the site owner. Thinkific integrates with popular payment processing tools like Paypal, Stripe, and Quaderno so you can automate payment and tax calculation when teaching students from different countries.
“We use Thinkific as our online course website. That’s the way we’re sharing our content. The advantage of an online course platform like Thinkific is that they handle the login features, so that anyone who’s accessing your material will have to log in, and your videos live there.” – LIZZIE LASATER
Sign up for a free trial account to start building your courses and enrolling students today!
Step 4: Help your students transition to online yoga classes
Choose one centralized platform
Online classes might be new for a lot of students. You need a way to share lessons with your students and help them understand how to navigate around the course hosting platform.
Lizzie Lasater recommends using Thinkific to host and bill for your content. It makes it a one-stop-shop for your students to view, purchase, and access your online yoga content. It also loops them into any learning communities that you have set up!
Build a yoga class outline
Your course should facilitate the transformation of your students from their current reality, to their desired future. An outline of your yoga course or class will be super helpful to do this! To create your outline, you’ll want to identify the following points
- What stage your student is at before enrolling your course (Point A)
- What the student’s desired abilities and expectations are for taking your course (Point B)
- The key steps, topics, and skills they’d need to move from their current state (Point A) to their desired state (Point B)
As much as we’d all like the ability to fast forward through challenges, your students aren’t going to jump from A to B overnight. You’ll need to consider what incremental learning steps they need to take along the way to make their transformation.
Once you have this rough outline down, it will be much easier to decide on what to include in your course – whether it’s pre-recorded videos, reading materials, or live workshops.
“If you’re used to teaching in person, you’ve got that figured out. But if you’re filming yourself online, you have more moving parts. More bells and whistles to deal with and it can be flustering at first to manage the tech and to teach, so know exactly what you’re going to teach.” – LIZZIE LASATER ON HER YOUTUBE CHANNEL
Step 5: Market your online yoga studio
Last, but not least, we’ll cover online sales and marketing strategies to help you grow your business and sell more courses.
Master the yoga marketing funnel
The first step is to understand the stages a customer goes through before deciding to purchase and consider how your content can be crafted with these stages in mind.
The AIDA (Awareness, Interest, Desire, Action) model is based on individual stages that lead up to a customer ultimately purchasing from you:
-
- Awareness – Someone can’t purchase from you if they don’t know about you, so first, you’ll need their attention.
- Interest – Then, you need to pique their interest by demonstrating your value and differentiating yourself from other yoga studios.
- Desire – Finally, they need to decide if they desire your product before they take action.
Action
- – This is the actual conversion to purchase or download your content.
Build or polish up your website
At the core of any marketing effort, you’ll want to be driving traffic to your website. Here are a few examples of great yoga instructor websites on Thinkific:
- Lizzie Lasater has an extra landing page that helps users find the most relevant courses for them. This is a user-friendly way that summarizes her digital products with their unique value propositions.
- Lasater Yoga’s Yoga Teacher Training page lists eight key learning areas, so their students can understand how it will help them in their career as a yoga teacher.
- Asha Yoga’s website lists the benefits you’ll get from their classes, and how they’ll help you de-stress, build strength, and a better connection with your body.
Create a sales page
A sales page helps focus your efforts in defining your value proposition and mapping out a course outline. It also gives you a sales page to start driving traffic to.
Key features of a sales page include:
- A compelling headline to grab your reader’s attention
- The value proposition which presents the problem that they are experiencing and your solution
- Course information like pricing, target audience, and dates
- Benefits such as relieving sore back pain, finding mental stillness, or building strength
- Bonus materials and resources that are included in your course
- Testimonials from past students about how your course helped them
- Credibility such as certifications or achievements
- Frequently Asked Questions (FAQs) to help students overcome any last-minute objections and concerns
- Risk reversal information such as a 100% money-back guarantee within a specific period of time, such as 30 days.
Use lead magnets to grow your email list
Since teaching online means you’re running a digital business, you must start to build your email list if you haven’t already. Even if you have tons of traffic to your social media or course site, only a small portion of that traffic will actually transpire into paying students.
Lead magnets (free downloadable resources) are a great way to build your email list. This could be a recorded class or PDF of yoga sequences, for example. When people download your free resources, you’ll get their email in return. You can use nurture emails to guide them towards your paid programs by sending them information about all the helpful training you have available.
Lasater Yoga has a newsletter through Mailchimp called “Sunny Savasana Series” to engage their followers on a monthly basis.
Build a social media strategy
Beyond being the ultimate procrastination tool, social media selling can be a great way to keep your existing students engaged and get in front of new potential students. Decide what your goals are with social media before jumping onto every platform under the sun. Here’s what some of the different platforms offer:
- YouTube and Facebook are great ways to offer tips and free live classes.
- Facebook pages are great for reviews, going live, keeping your audience engaged with new content, and schedule updates.
- Instagram is a great way to build social proof by sharing photos and videos from your classes and highlighting your top students.
- TikTok allows you to show short clips of your classes. Or, you can use it to explain thought leadership topics in the yoga space or recommend top yoga props to purchase for example.
Asha Yoga teaches live classes on Facebook to engage their followers and build trust by giving potential customers a sample of their class.
Posting on multiple platforms on a regular basis can be a challenge, so a social media management tool like later.com can help you streamline your social media efforts by scheduling your posts to all of your pages.
Lasater Yoga has 5,800 followers on Youtube, where they share techniques, anatomy, and frequently asked yoga questions. This pre-recorded content allows them to reach more people at once, and gives potential students a taste of what to expect in a paid class. In your social media videos, make sure to give away enough value to capture their attention while offering an incentive to take your classes. Write a good description with the post that includes keywords related to the class, your paid offerings, the link to your course, links to your website, and other insights you have about being a yoga instructor.
“Just like yoga in a room with students, people are looking, I believe, to have an authentic connection with an authentic human being. And people will forgive you everything that can and will go wrong technology-wise as long as you are yourself.” – LIZZIE LASATER
What’s the next step to teaching yoga online?
By reading this post, you’ve embarked upon a journey to share your love of yoga and your expertise with the world.
You’ve already started, even if you haven’t actually done any of the exercises or recordings yet. Getting into the strategizing and planning part is super important to lay a great foundation for your online yoga course.
Thinkific can help you create and sell your online yoga content all from one place, and you can sign up for a free trial today. Try it out and see how it helps boost your career as a yoga teacher!
This blog was originally published in July 2020, it has since been updated in December 2023 with updated information.