

Certificates have become a core part of any credible training program. Learners expect them, employers ask for them, and in some industries, regulators require them. But creating and issuing them consistently across hundreds of learners is where many training teams hit a wall.
This guide walks you through how to make a certificate from scratch in 8 steps, and how to connect certification workflows that scale as your program grows.
Looking for something specific?
Jump to it here:
- 5 common types of certificates
- How to make a certificate
- Professional design tips
- How organizations make certificates
5 Common types of certificates
Not sure what types of certificates to create for your learners? Here are 5 of the most common types and what they’re used for:
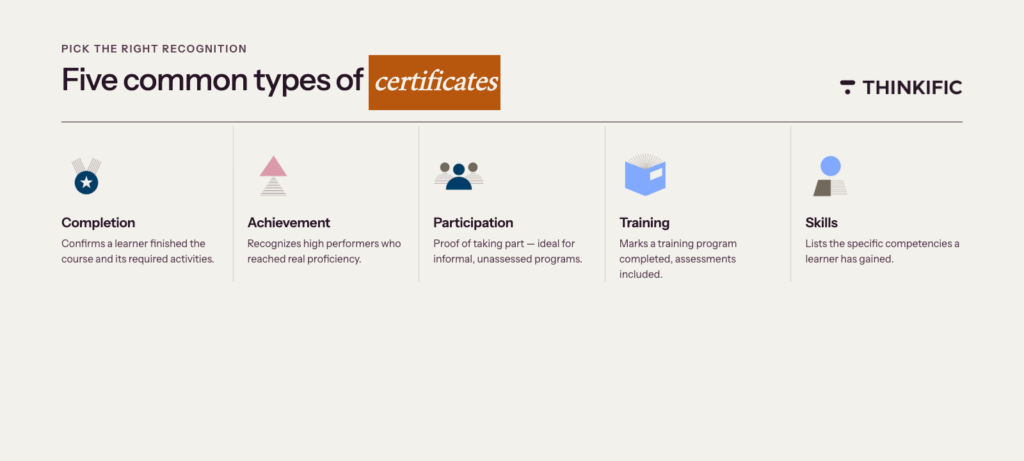
- Certificate of completion: A completion certificate shows that a learner has successfully completed your learning program or course, including finishing any required assignments and activities.
- Certificate of achievement: For the highest performing learners, a certificate of achievement demonstrates that an individual has achieved a high level of proficiency in a specific skill, subject, or field.
- Certificate of participation: Give your learners proof that they’ve taken part in a specific course or learning program with a certificate of participation. This type is often used for more informal learning programs, especially those without formal assessments.
- Certificate of training: A certificate of training is specifically used to mark the completion of a training program or training modules, including any required assessments.
- Skills certificates: If you want to offer your learners certificates to demonstrate that they’ve gained specific skills or capabilities, you can create skills certificates listing the key competencies acquired.
How to make a certificate in 8 simple steps
A well-made certificate does two things: it recognizes the learner and it holds up under scrutiny. The steps below will walk you through how to build one that does both, from clarifying what you’re issuing, to designing something that looks professional and contains everything an employer, client, or auditor would need to take it seriously.
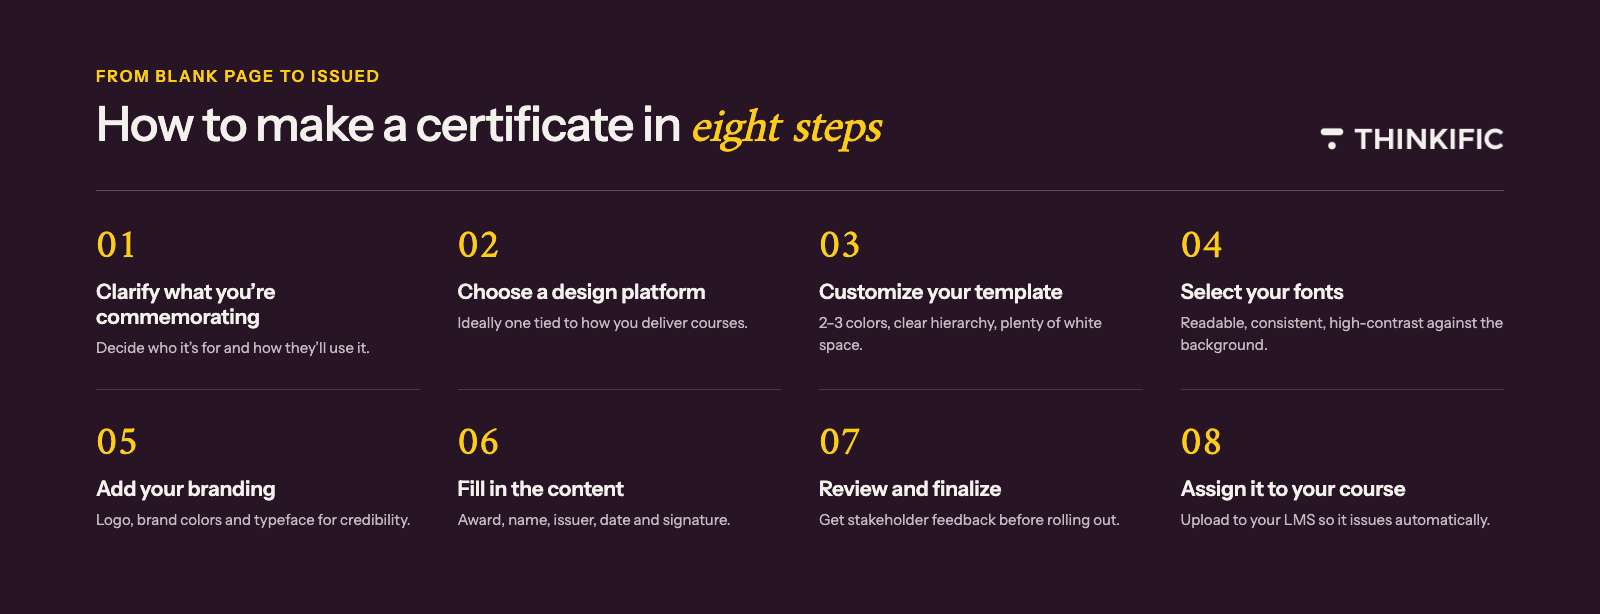
1. Clarify what you are commemorating
Your learners are likely to need a certificate of completion to mark their participation and successful completion of the course to use in professional contexts, such as job applications or license renewals.
It’s important to clarify what participants will use it for, as that determines what information needs to go on the document. Use these questions to get started:
- Who am I creating the certificates for?
- Who will be looking at the certificates, besides the learners?
- Are any official seals, logos, or signatures required?
- What dates are important to note (e.g. start date, completion date, expiry date)?
- How much of the participant’s information is required (e.g. name, role, company)?
- Do you need to mention any special conditions, restrictions, or acknowledgements?
2. Choose a certificate design platform
The process of making a certificate is quicker than it used to be, thanks to the range of design platforms available. Check out some of the top tools:
| Platform | Best for | Capabilities | AI features |
|---|---|---|---|
| Thinkific Plus | Training teams and organizations that need certificates tied to course delivery | Built-in certificate design tool, automatic issuance on course completion, no platform switching required | |
| Canva | Small teams | Drag-and-drop editor, large template library, brand kit with fonts and colors | AI suggests templates based on text prompts |
| Adobe Express | Teams already in the Adobe ecosystem | Brand kit for uploading logos and fonts, seamless integration with Adobe Creative Cloud, live co-editing for team collaboration | AI text-to-template generation and background removal via Adobe Firefly |
| VistaCreate | Teams needing high design variety | 150K+ templates, extensive creative asset and font library, brand kit support | AI background remover and image enhancement tools |
| Certifier | Training programs issuing at scale | Bulk certificate issuance, QR code verification, automated delivery, analytics, LMS integrations | AI-assisted certificate text generation |
| Accredible | Formal employee training programs | Full credential lifecycle management, digital badges, LMS integrations (Canvas, Moodle, Thinkific), advanced reporting | AI-powered credential recommendations and engagement analytics |
3. Customize your template
When you’ve chosen your design platform, it’s time to customize your certificates. Here are some design tips to keep in mind:
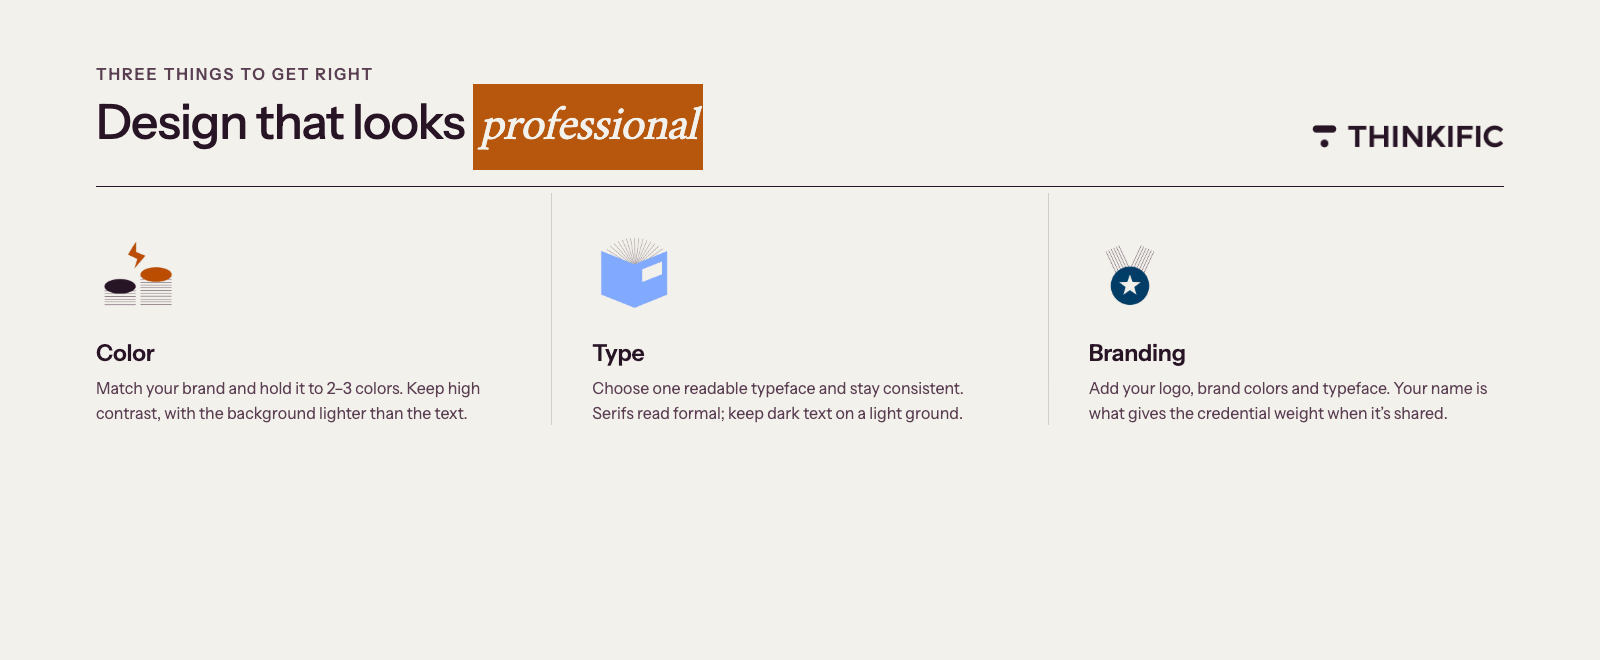
Color
- Customize your certificate color scheme to match your organization’s brand.
- Certificates usually use a limited palette of 2-3 colors to create a cohesive, professional design.
- Make sure there’s a high contrast between the background color and the text on your certificates.
- As a general rule, your background color should be lighter than your font color to keep text readable.
Formatting
- Focus on readability and simplicity.
- Use hierarchy and layout to organize the information on your certificate.
- Hierarchy: Arrange elements in order of importance. The most important information should use larger font sizes, bold or italic text, or a prominent position, such as the top center of the page.
- Layout: Your layout should be balanced with enough white space so the certificate doesn’t look crowded or overwhelming.
Top tip: Graphics can enhance the design of your certificate, but be careful not to overdo the number of elements on the page. Keeping it simple delivers professionalism and clarity.
4. Select your fonts
As your certificate will be mostly text-based, font choice has a big role to play in the design. Here are 3 general rules to keep in mind:
- Easy-to-read: Fonts should be easy to read and appropriate for the context of the certificate. Serif fonts are the more traditional choice for formal certificate designs, but you can also opt for more minimalist or modern designs depending on your brand.
- Consistent: Your font choice should be consistent throughout your certificate. Avoid mixing too many different fonts as this can make text harder to read.
- High contrast: There should be a high contrast between the font and the background. Black, dark grey, or dark brown text on a light-colored background is usually best.
5. Add your branding
Branding makes your certificates recognizable and reinforces the credibility of the organization issuing them. When learners share credentials on LinkedIn or submit them to an employer or licensing board, your organization’s name carries weight behind the document.
- Logo: Include your logo so recipients and reviewers know who issued the certificate.
- Brand colors: Match your certificates to your overall brand colors for consistency across your materials.
- Typeface: If you have a specific typeface or font for your brand, use it in your certificates to align with other content.
6. Fill in the content
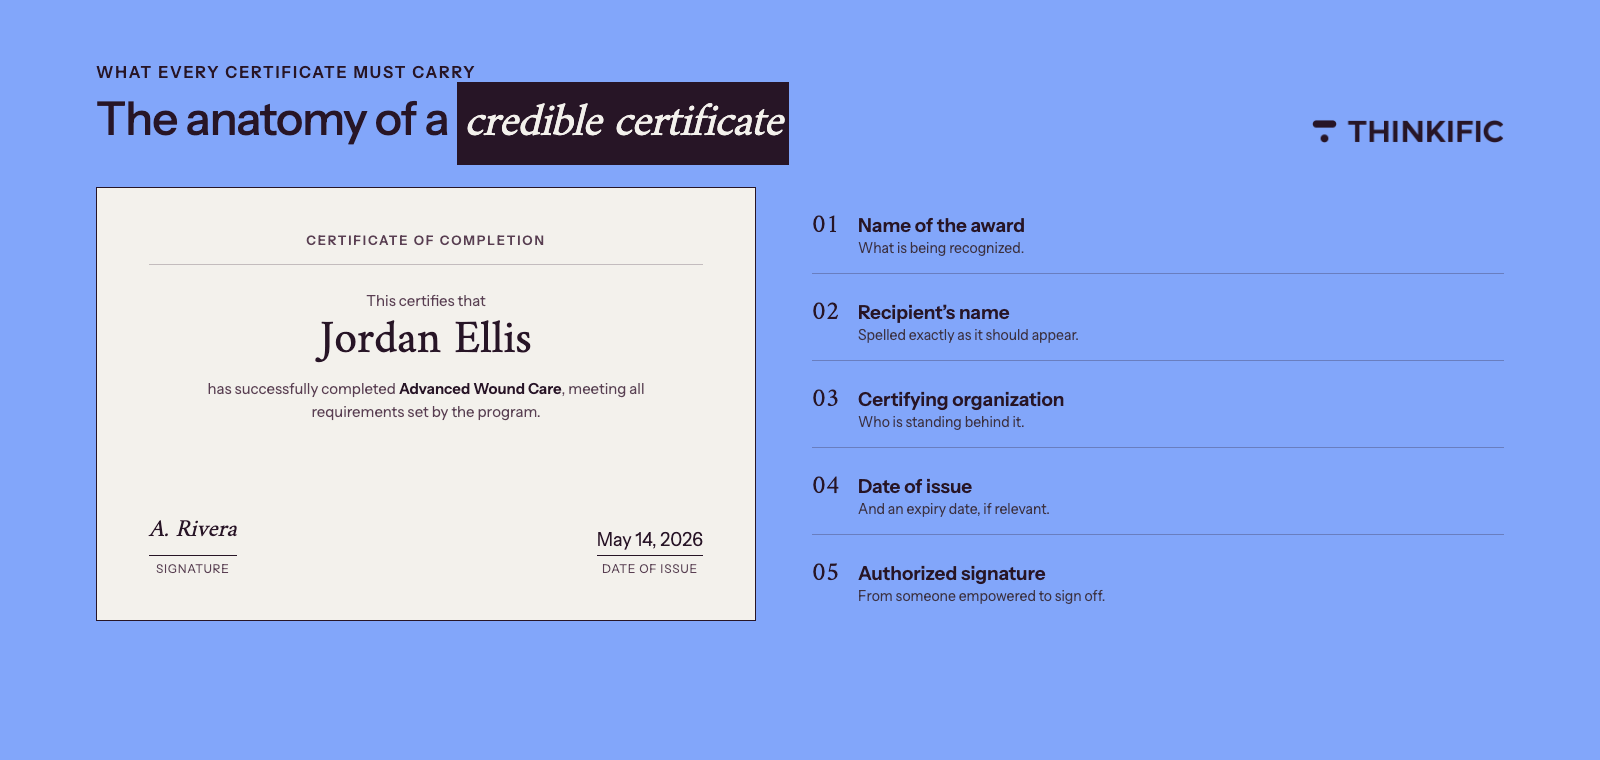
When you’ve created your master design, you can fill in the content. While the exact content will come down to your program’s requirements, there are some essential elements to include. Here are 5 key details you’ll need:
- Name of the award
- Recipient’s name
- Certifying institution or organization
- Date of issue
- Signature from an authorized signatory
You might also want to add a short section of text explaining what the certificate is recognizing. Here are three examples:
- Example for professional designation: [Recipient’s name] has fulfilled the requirements for this professional designation, showing mastery of the core competencies and industry standards that define excellence in [field/industry].
- Example for employee training course: [Recipient’s name] has completed all modules and assessments of [Program Name], demonstrating the skills and understanding required to meet [Company Name]’s standards of excellence.
- Example for compliance training: [Recipient’s name] has completed [Course Name] and met all requirements for compliance with [Regulation/Standard]. This certificate is valid through [Expiry Date].
You can choose to personalize the text for every recipient or create a general template to use across all your certificates. If you have a high volume of learners, it’s a good idea to standardize your content so you can automate the certification management process and reduce the time it takes to create and issue certificates.
7. Review and finalize your design
When you’ve customized your certificate and added your content, it’s time to review and finalize your design.
Ask for feedback from stakeholders who represent the certificate’s audience: HR leaders, compliance managers, or a sample of the learners who will receive it. Adjust your design based on their input before rolling it out at scale.
8. Assign your certificate to your course
Once your certificate design is ready, the final step is uploading it to your LMS and assigning it to the right course so it reaches learners automatically.
Most LMS platforms follow the same basic logic: upload your design, assign it to a course, and the platform handles delivery when a learner completes it. No manual sending required.
Here’s how building certificates works in Thinkific:
- From your Admin Dashboard, go to Users then Certificates.
- Click + New Certificate and give it a name (internal reference only).
- Customize in-app or upload a pre-designed template.
- Assign it to a course. One certificate can be assigned to multiple courses.
- Hit Save.
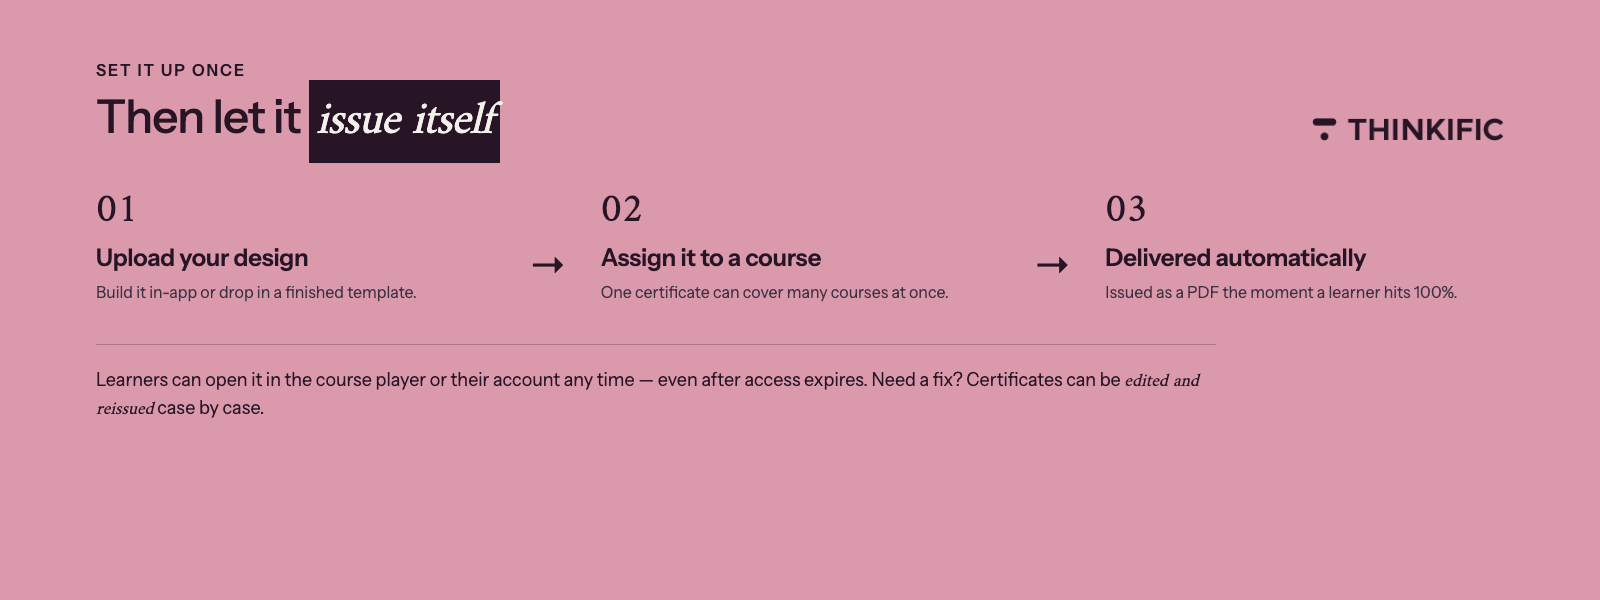
That’s it. Once assigned, Thinkific automatically issues the certificate as a PDF the moment a learner hits 100% course completion. Learners can access it directly in the course player or from their account settings at any time, even after course access expires.
If you ever need to make a change, certificates can be edited and reissued on a case-by-case basis without leaving the platform.
3 Professional certificate design tips
Now you know how to make a certificate. Here are 3 design tips to help you create professional-quality certificates that hold up in the contexts that matter most.
1. Watch out for copyright infringement
While certificates might not be the first thing that comes to mind when you think of copyright infringement, if you’re using graphics and images then you need to be careful. Make sure you only include graphics, images, and logos that are not protected by copyright. Source graphics and images from free image sites to avoid issues.
2. Double check key details
If you want your certificates to look professional and polished, double check your content and then check it again. Make sure the following details are correct:
- Spelling
- Grammar
- Recipient’s name and title
- Date and location
- Modules or skills completed
There’s nothing worse than spelling or grammatical errors on a certificate that’s being submitted to an employer, licensing board, or auditor. If in doubt, use a tool like Grammarly to check your work.
3. Offer digital badges too
If you want to add extra value for your learners, offer digital badges alongside certificates after they’ve completed your program. Badges can be easily displayed online and are more portable than traditional PDF certificates.
If you can provide multiple formats, your learners are more likely to share their credentials across multiple channels, including LinkedIn, HR systems, or compliance records.
Top tip: If you’re sending certificates via email, add social sharing buttons to encourage recipients to post their credentials directly to LinkedIn or professional networks. This extends the reach of your program and gives your organization visibility where your learners’ professional peers are already paying attention.
How organizations make certificates with ease
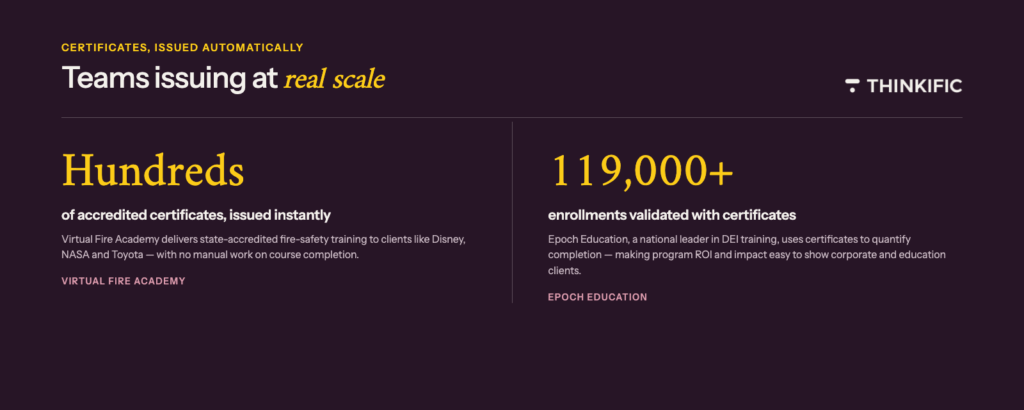
Virtual Fire Academy
Deputy Chief Peter Cutrer runs his fire safety training program, delivering accredited courses to clients like Disney, NASA, and Toyota. Thinkific’s automated certificate tool meant he could issue state-accredited certificates to hundreds of learners instantly on course completion, with no manual work or additional overhead required.
Epoch Education
The national leader in DEI training, Epoch Education uses Thinkific’s certificate feature to validate professional development across 119,000+ enrollments. Certificates give their corporate and education clients a tangible credential to quantify training completion, making it easier to demonstrate ROI and program impact at scale.
Build and automate your certificate program on Thinkific
Certificates are only as useful as the system behind them. A well-designed certificate that reaches learners automatically, stays accessible after course access ends, and can be reissued without manual work is one less operational burden on the team running the program.
That’s what a certificate workflow looks like when the platform is doing its job.
Build and automate your certificate program on Thinkific
Thinkific’s built-in certificate builder handles design, issuance, and delivery from the same dashboard where you manage your courses. Certificates issue automatically at 100% completion, learners can access them any time, and your team can edit and reissue on a case-by-case basis without leaving the platform. For organizations running compliance training at scale, Thinkific Plus adds the admin controls, reporting, and learner management your program requires.
Start a free trial or book a demo with the Thinkific Plus team.